
We’re now well into winter 2013-14, complete with polar vortexes, snow rollers, and assorted other crazy weather phenomenon. While these conditions can be truly dangerous if you’re not dressed for them, they can also produce some great winter scenes and some magnificent icy sculptures for those prepared to go out and capture them.
If you’re thinking of staving off cabin fever with a winter photo hike, it looks like we’re in for a bit more winter, but first — here are some important considerations. A little bit of preparation will prove invaluable once you get out into the cold!
Safety First
Winter weather can be dangerous, so be sure you’re dressed for it, and make sure you’re prepared for changing conditions. If you’re cold and miserable, not only are you putting yourself in danger, you’re guaranteed not to have a very good time. Believe it or not, though, once you’re properly outfitted for winter weather, you should be quite comfortable. I’m sure you’ve heard the adage about layers –this is absolutely critical. Let’s review some of the stuff you should be packing.
- Coat / outer shell. As much as you might want to go out and grab an uber-parka, resist the urge. You’re probably better off with a thinner shell that won’t restrict your movement. Add layers to suit the weather. Do look for one that blocks the wind, though. Mine’s got a hood and extends down past my waist, and that extra length can be a real help when the wind blows.
- Snow pants / bibs. It’s been an awful long time since I’ve needed bibs, but if you’re out in below-zero weather, these really help keep those nether regions warm. If you’re not wearing some sort of snow pants, at least take care to wear a couple of layers, and avoid jeans, which hold moisture — both from you and from any snow or water you get on them.
- Inner layers. Look for synthetics or wool blends that wick moisture away from the skin. You do not want to get sweaty and then have a cold gust of wind come along and suck all that heat away. Plan on a layer or two more than you think you’ll need, as long as you’ve got room in your pack to stow anything you have to shed. Stay warm, but not so warm that you’re sweating.
- Hat. You lose a lot of heat through your head and hands — use this to your advantage. Always bring a hat and gloves, and dress so you’re comfortable with them on.
 When you start hiking, you’ll probably warm up. When you do, take off your gloves and/or hat, and you’ll instantly shed a layer without stopping to take off your backpack, coat, etc. — this is the quickest and easiest way I’ve found to regulate my temperature while hiking in the winter!
 - Gloves. Gloves are great in the winter (obviously), but they’re not especially compatible with photography. Try thin gloves, or just taking one or both of them off while shooting (don’t lose them, though!). You can also find fingerless gloves, and even mittens that convert into fingerless gloves!
- Socks. As with your other layers, keep them breathable and stick to synthetics or wool blends — no cotton! I love Smartwool socks, personally.
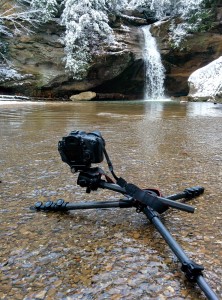
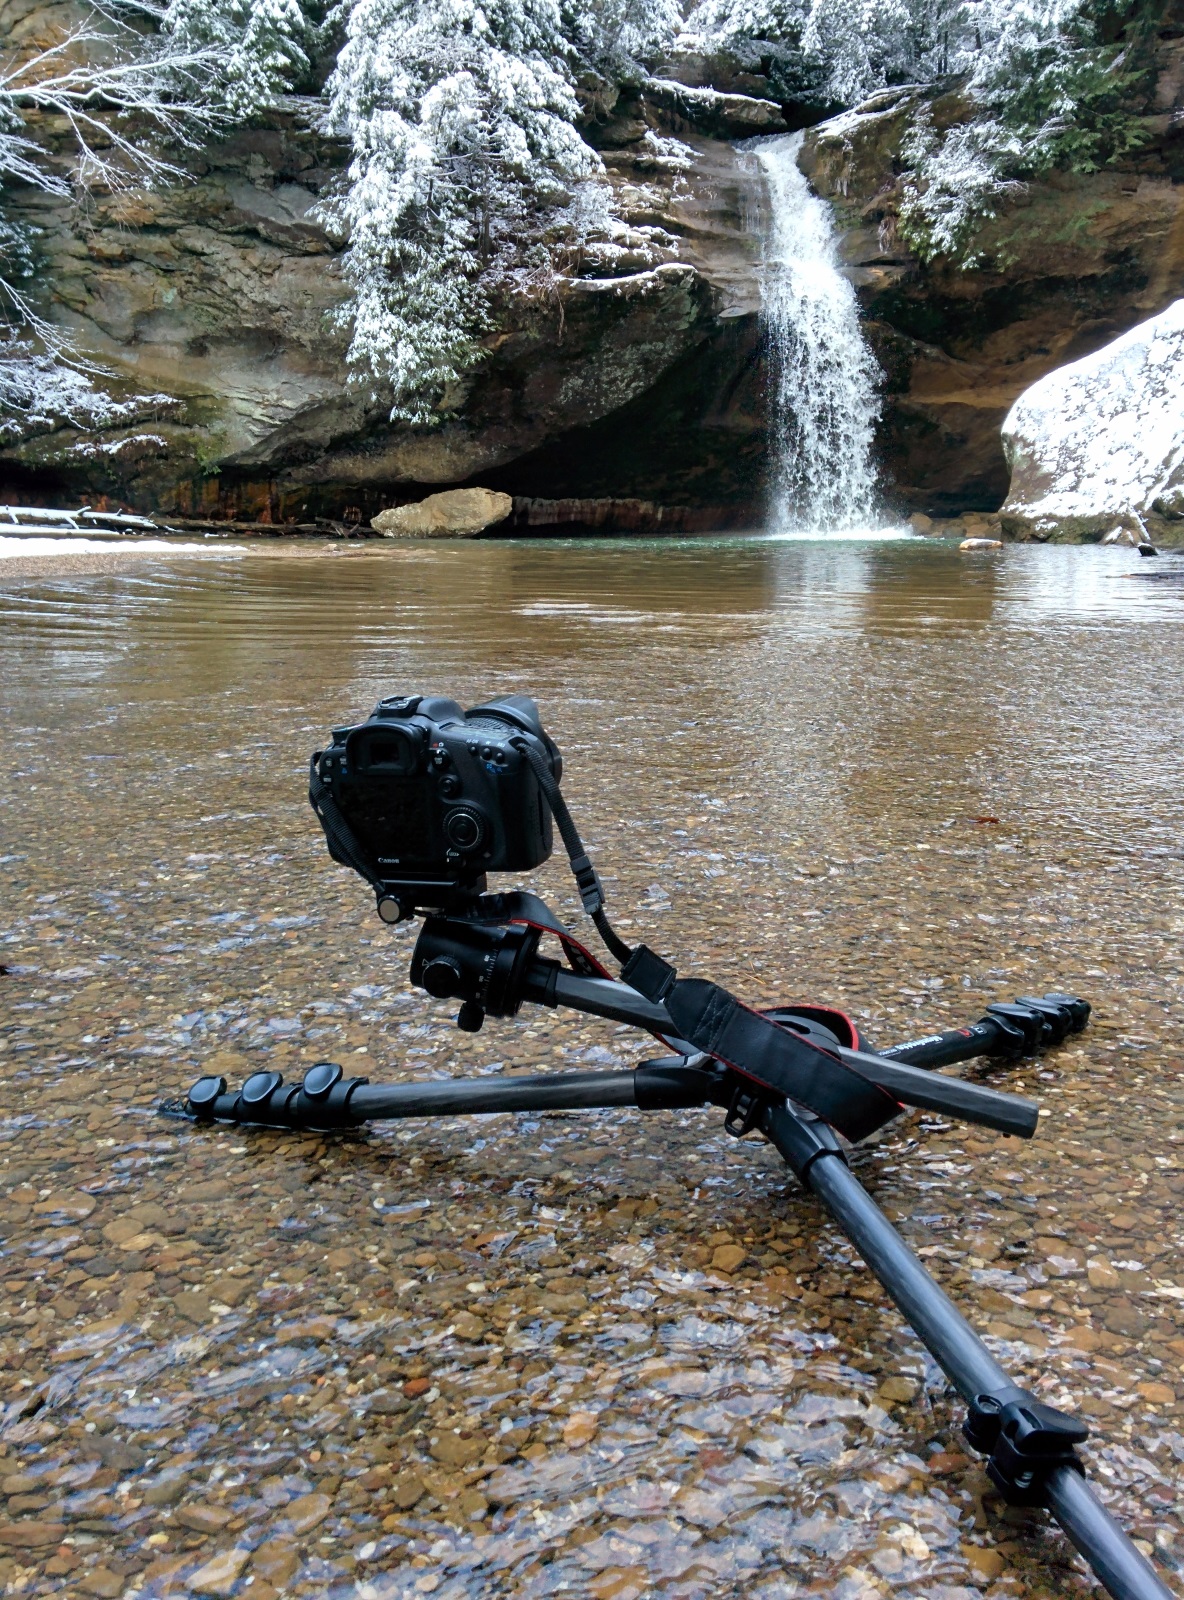
- Boots. You probably don’t need a whole lot of actual insulation, but your ultra-breathable summer hiking boots might not work too well in the winter. Waterproof boots are a really good idea in the winter, too – especially if you’re going to walk out here to set up your tripod.
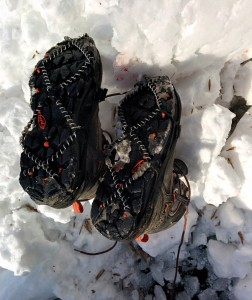 Grip. This is key. I know your boots have great tread, and I’m sure they grip like mountain goats in the summer, but that doesn’t mean squat on any icy trail when you’re hauling a couple grand of camera equipment around your neck. Get some Yaktrax Pro’s, or one of the other alternatives like them. Lots of people like trekking poles for winter hiking,
- Food & hydration. If you’re going to be out stomping around in the wilderness, you’re going to be burning calories, so don’t forget some portable chow. Dense, dry (ie, non-freezing) food is best. Don’t forget to bring some water, too. Normally, I’m a big fan of a water bladder in my backpack, but in freezing weather, the drinking tube can get clogged with ice pretty quickly. Instead, stick to nalgene-type wide-mouth bottles, and keep at least one nestled so it’s near your body in your pack.
- Personal safety items. If you know how to use a compass and firestarter, toss them in your pack. You should absolutely have a flashlight, hand warmers, and basic first aid items. Go ahead and bring your cell phone, but don’t count on it to work if you’re on a trail.

A final safety note: please be sure you’re hiking with a group, or at a very minimum, make sure someone knows your plans. You don’t want to be caught out in the cold somewhere without help on the way.
The Photo Kit
 Once you’re prepared for the elements, you can give some thought to your photo equipment. Carrying extra clothes, food, water, and so on sort of implies the use of a backpack of some sort. If you’ve got a dedicated photo backpack that can hold “extras”, too, that’s fantastic.
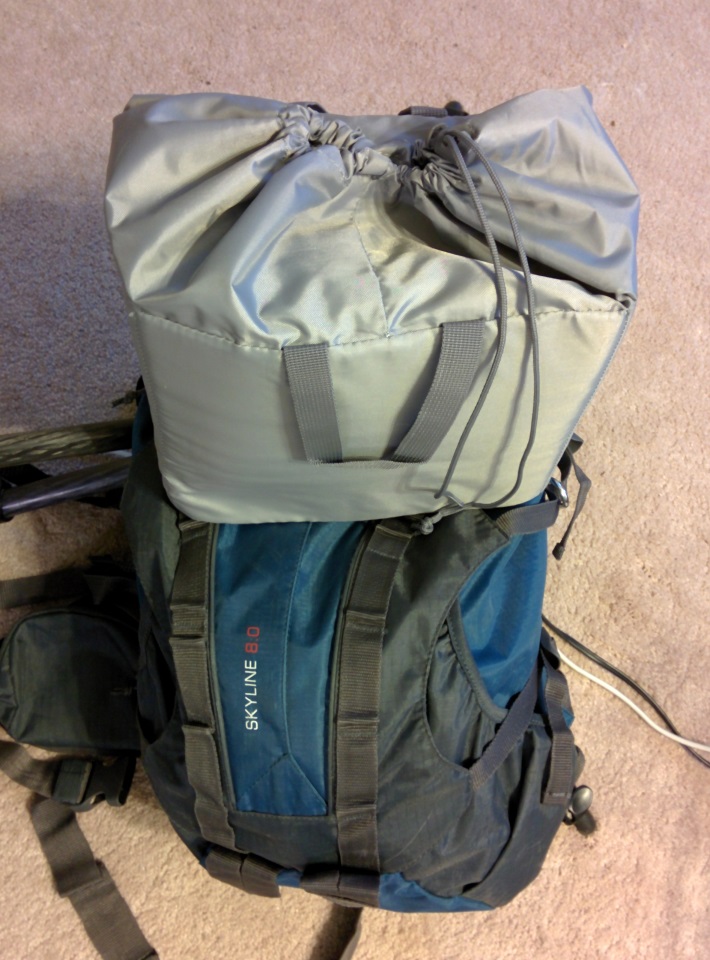
Personally, I use a regular, non-photo day pack with a LowePro TLZ pack on my chest. Since LowePro was generous enough to send me a Nova 17L pack a couple months ago, I took out the removable insert and packed it with all my “extra” equipment. 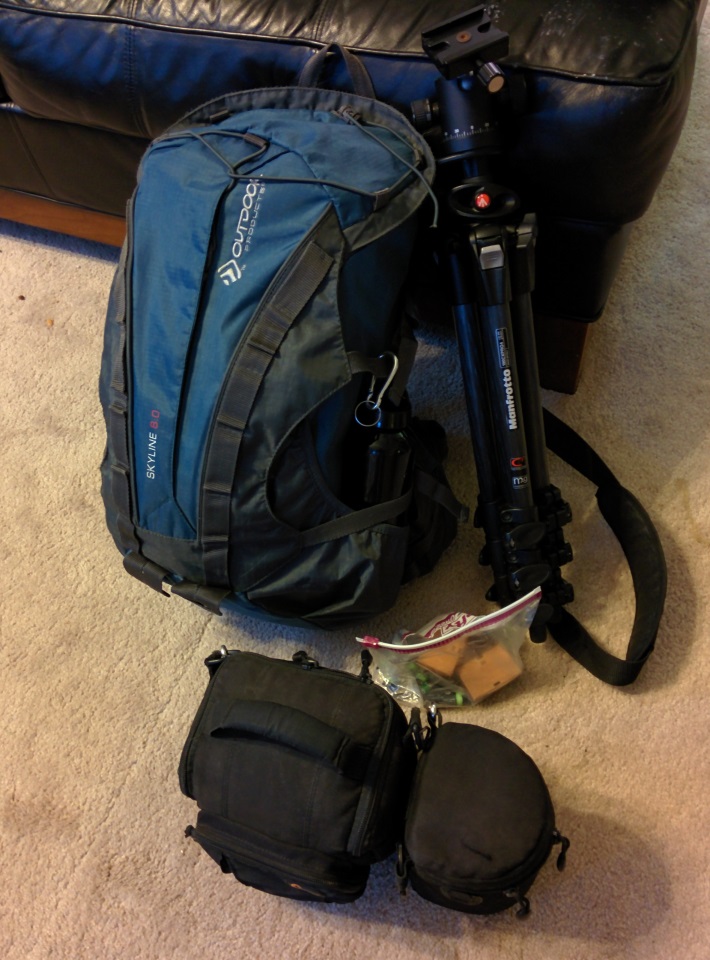 You can see this insert packed and ready to go at left — note the great drawstring-equipped sleeve that pulls up over the top of the padded compartment — a really great touch.
On the right, you can see my whole kit packed up and ready to go. Here, the insert from the Nova 17L is tucked safely in my daypack, and the LowePro TLZ with attached lens case is ready to mount to my chest — it hangs on the shoulder straps of the pack, right at the sternum-strap level. I’ve got a bag of spare batteries — they’ll go in my pocket so they stay warm. Finally, I left my tripod loose — it’s got a shoulder strap on it, and I knew I’d be using it constantly, so I wanted it to be easy to set up.
Planning Your Trip and Getting the Shot
If you’re trying to capture a winter setting, timing is crucial. Pay attention to weather forecasts, and be prepared to be flexible. A fresh snowfall is always great — especially if you can get on the trail before lots of other footprints show up! Being on the trail during a snowfall can be a very interesting look, but it’ll make your shoot trickier, too — you’ll need to work hard to keep your camera dry (especially the front of your lens!). In addition, snowy conditions will be accompanied by gray skies — maybe not the look you’re going for.
Once you get out in the field, you should be able to fall into “business as usual”. If you’ve prepared carefully, you should be comfortable and ready to go. From here on out, you’re shooting landscapes just as you would normally — pay attention to composition, depth of field, and so on, and have fun!
2 Replies
Comments are closed.