Pseudo-HDR in Lightroom

 In an earlier post, I showed how you could synthesize an HDR effect by applying several different exposure settings (in sequence) to a single RAW image. Since I’ve started using Lightroom, I’ve gone back to some of my saved links to look for similar HDR techniques for use in Lightroom.
One of these links is a video tutorial that describes what seems to be a pretty radical approach. If you follow along with the video, it’ll have you crank the settings for recovery, fill light, contrast, clarity, and vibrance all the way to 100%, at which point you’ll probably end up with a really gaudy-looking image. Keep watching the video, though, and you’ll dial back saturation, increase blacks, and fine-tune a couple other settings until your image starts to look more natural again. In experimenting with this technique, I usually ended up going back to some of those “100%” settings and easing them off of 100% just a bit, but I recommend following along with the tutorial as-is with a couple images so that you can see how it works out. It’s really pretty impressive how well Lightroom handles these aggressive changes without totally losing the fidelity of the original image.
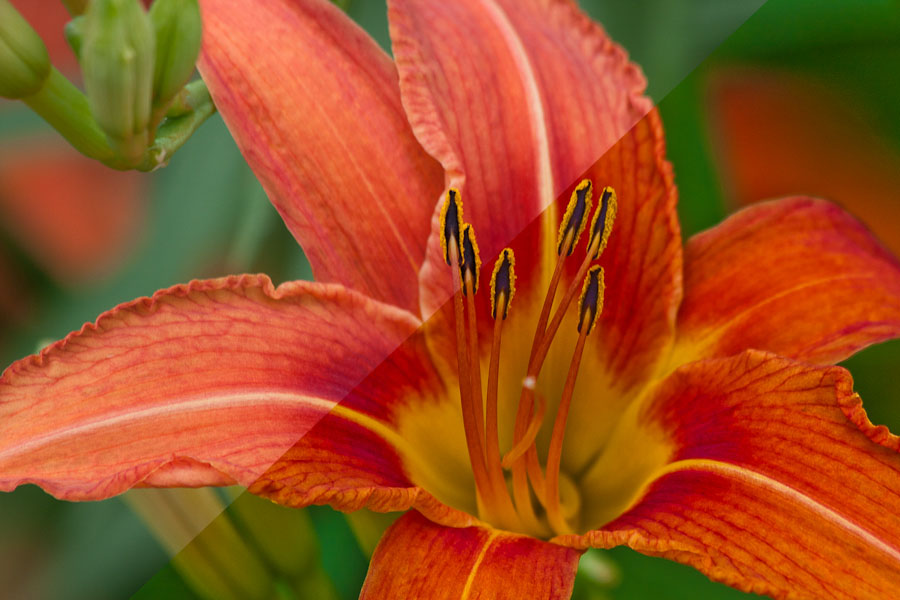
The picture you see here, obviously, is a split image showing the before (upper-left) and after (lower-right) versions for one of these transformations. In this case, as you can see, the changes aren’t radical, but I believe you end up with a real improvement using these techniques. If you’d like to see another take on this sort of technique, here’s a link to another tutorial that describes a similar, though slightly less radical version of this same technique.


Leave a Reply