
Pixel Mago review, part 1
Last week, I was pleasantly surprised to receive a text from DHL — I’ve got a new speedlite from Pixel to review! The Pixel Mago is a really exciting new option for Canon DSLR photographers (I believe they’re releasing a Nikon version, too). As excited as I was to see Yongnuo ship a high-end speedlite with E-TTL and HSS (the YN-568EX) at a really competitive price, this new flash from Pixel not only adds some exciting features, it’s also priced even more competitively.
After a quick review of the features on this flash, there’s little no doubt this speedlight is poised to be a serious competitor among third-party flashes, so I couldn’t wait to dive in and see if it lives up to its promise. I’m still putting the Mago through its paces, so I’m going to do a two-part review. In this first part, I’ll cover unboxing and features, and in the second part, I’ll put this flash to the test against a couple other great third-party speedlites to see if it’s got the performance to match its great list of features.U
Unboxing

 Inside the DHL envelope was a carefully-bubble wrapped box containing the actual Pixel Mago retail box. Although the flash unit turned out to be further protected inside the retail box, the extra layer of bubble wrap was a welcome sight considering the rigors of international shipping.
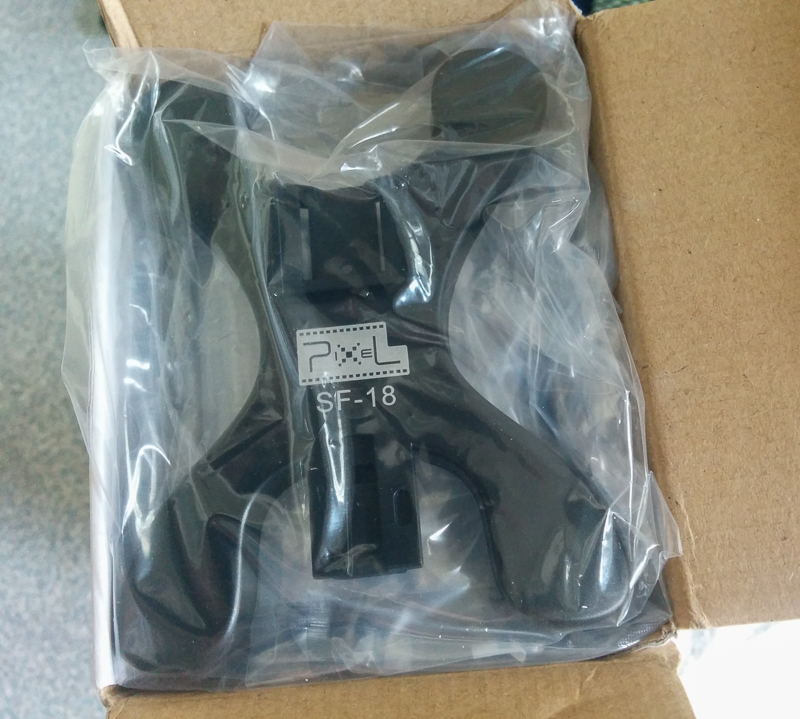
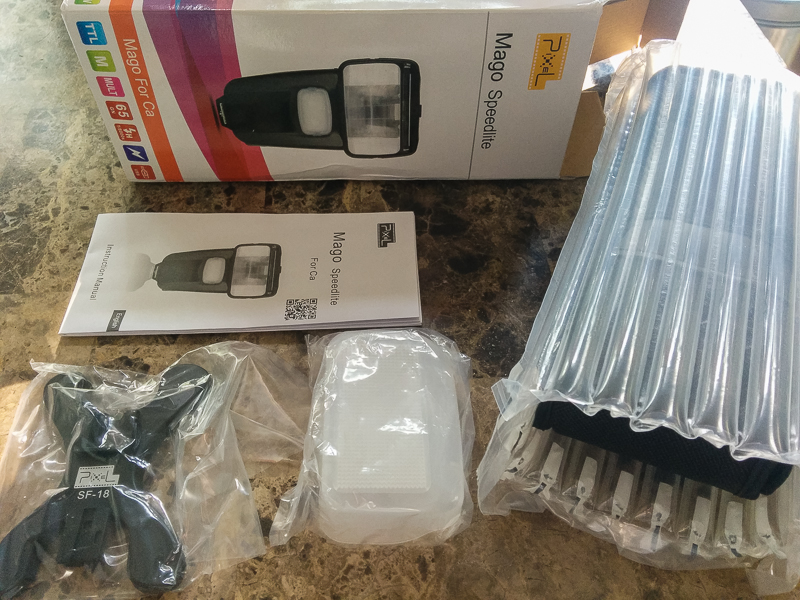 Opening the box, a really nice x-shaped stand sat atop the flash, soft-sided case, instruction manual, and snap-on diffuser. Note the additional inner sleeve still on the flash & case at right. This wrap is really quite sturdy, and given the additional bubble wrap outside of the retail box, this unit should survive all but the worst shipping catastrophes. It’s really nice to see this sort of detail paid to packaging and shipping — it really creates a great first impression for this product.
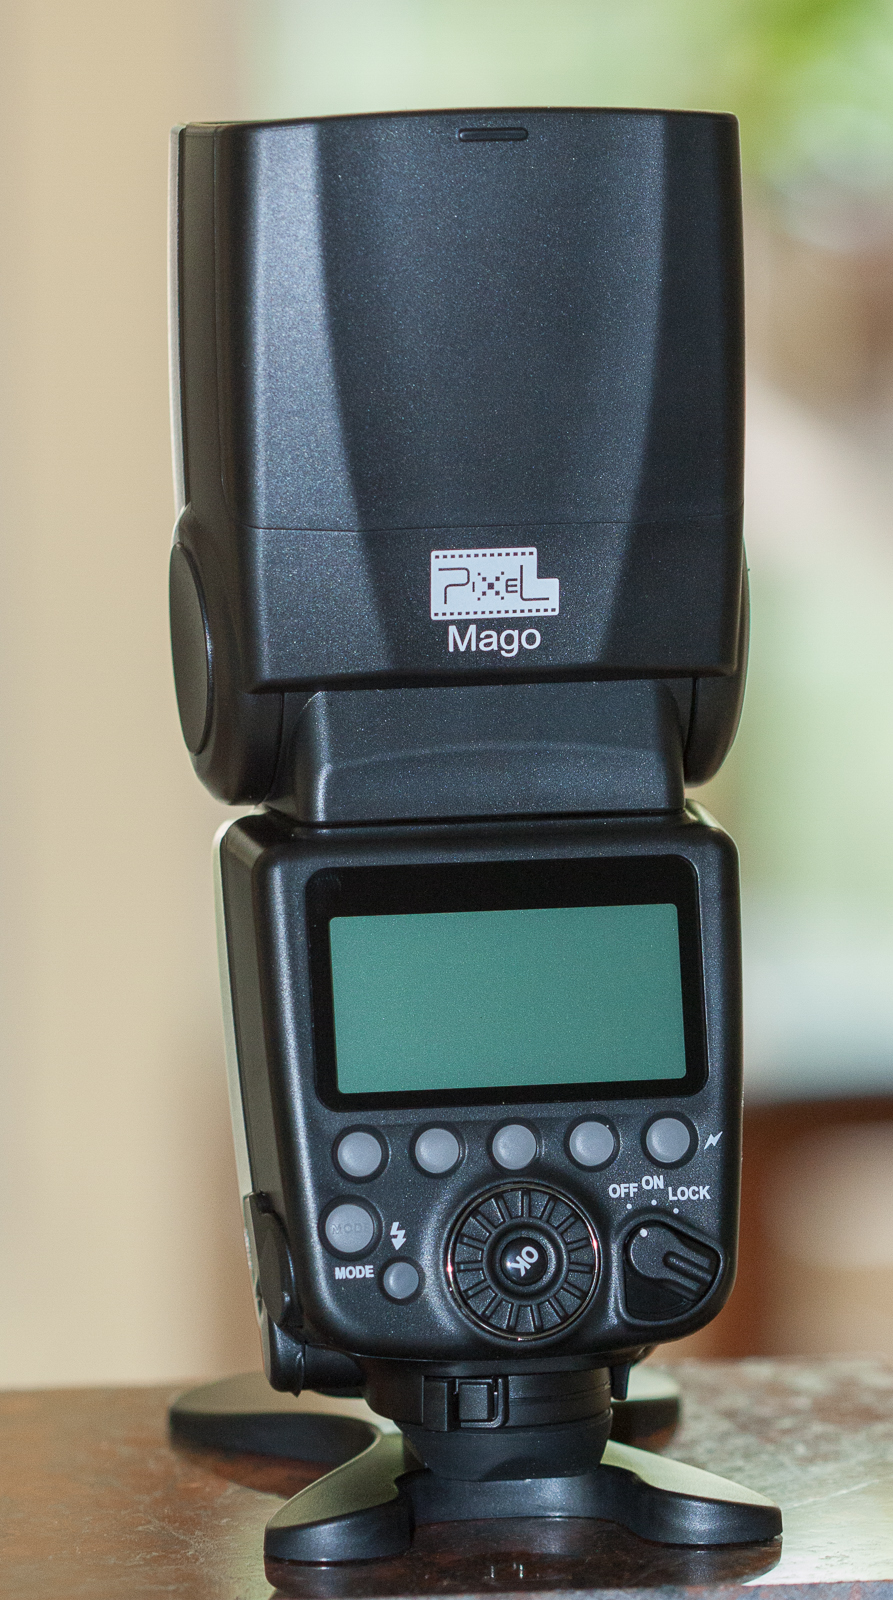
Taking the flash unit out of the case, I noticed a very solid, well-weighted feel. If you’re anything like me, your photo gear is already plenty heavy enough by the end of the day, but I still appreciate the heft of the Pixel Mago. It feels solid and durable — at least as much so as the Yongnuo.  I actually like the feel of the turn / twist movement of the head better. It’s stiff enough that the head will stay put in any position you want — not just in the “indexed” positions. Very nice. A final note on the case — I always loved the case that came with the Yongnuo flash, but I wished it had a belt loop. Guess what Pixel included on theirs? Yeah, that’s right — once again, it’s a step better.
Having unboxed the flash, I diligently set about reading the user manual from top to bottom before I did anything else….
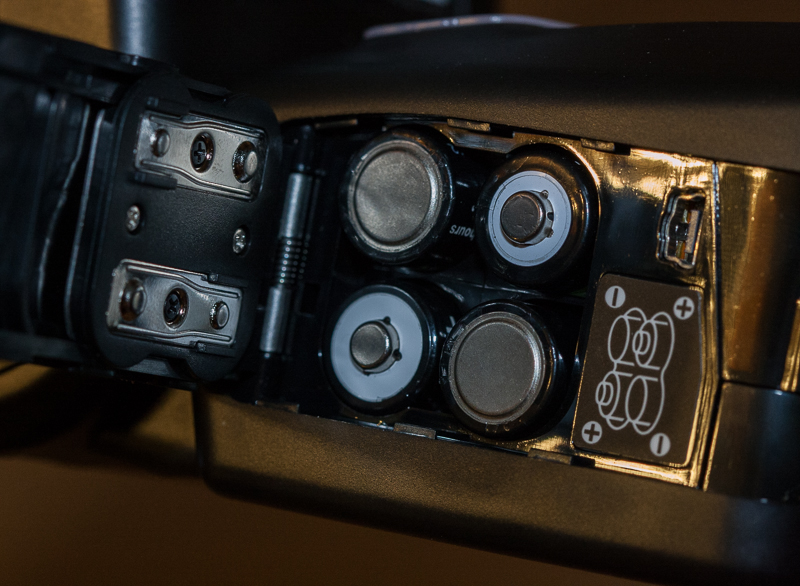
 Ha! Don’t believe it — I popped in a set of AA’s and fired that baby up! By the way, check out the easy-to-read battery orientation diagram and — what’s that — a USB port? Yup – this flash is is flashable and the startup screen shows the current firmware version.
I hit the self-test button and confirmed that the flash was alive — mission accomplished for unboxing.
Features
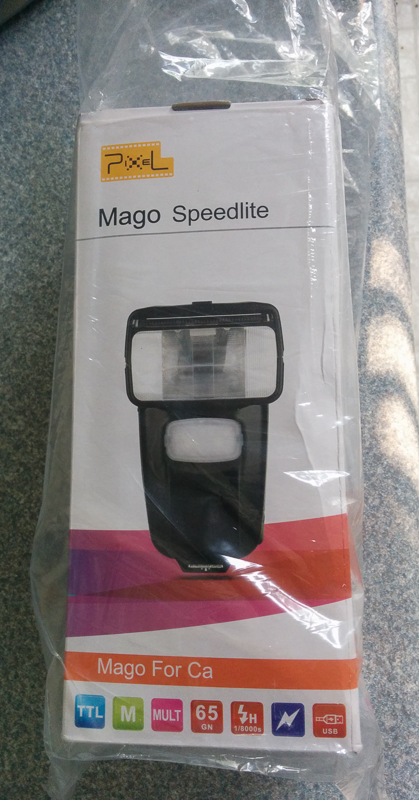
As I mentioned, this flash is jam-packed with features at any price, let alone the budget-friendly prices these are currently fetching on ebay. Let’s start with the big stuff:
- Guide number of 65 @ ISO 100 / 200mm. This compares really favorably to the GN58 of Canon’s 580EX and the 53 of Yongnuo’s 568EX. It’s worth noting that testers expressed some skepticism that Yonguo’s numbers were legit and I’m eager to see if the Pixel delivers on this ambitious power claim.
- E-TTL-II with +/- 3 stops of flash exposure compensation. Along with exposure settings, E-TTL allows the flash zoom to follow your lens, sync to 1st or 2nd-curtain, and more — really great stuff for candid shooting.
- High-speed-sync (HSS) for shots from 1/250 seconds to 1/8000.
- Auto or manual zoom (20mm-200mm). This is comparable to Canon’s high-end flashes, and better than the 24mm-105mm of the Yongnuo 568.
- Wireless master-slave (Canon-compatible). Yup – flash control without external triggers!
- External power connector. When using your flash a lot, not only does an external power source help the flash recycle more quickly, it’ll also help you crank out more shots before a battery change.
- LED “modeling” light. I’ll be honest — until yesterday, I thought these were a bit of a gimmick but I’m a convert now (more later).
So, on paper, it’s clear that this flash has what it takes to succeed, but I was anxious to see if it worked as well as it looked.
Operation
It’s pretty clear that the design of the Pixel Mago is strongly influenced by Canon’s 580EX II, to put it charitably. In fact, aspects of the design seem to be direct copies of Canon’s flash. Clearly, there are places where this is a good thing; after all, not only do we gain the benefit of Canon’s design experience, but I hope that dimensions are close enough to fit the same accessories that fit the 580EX.
Controls
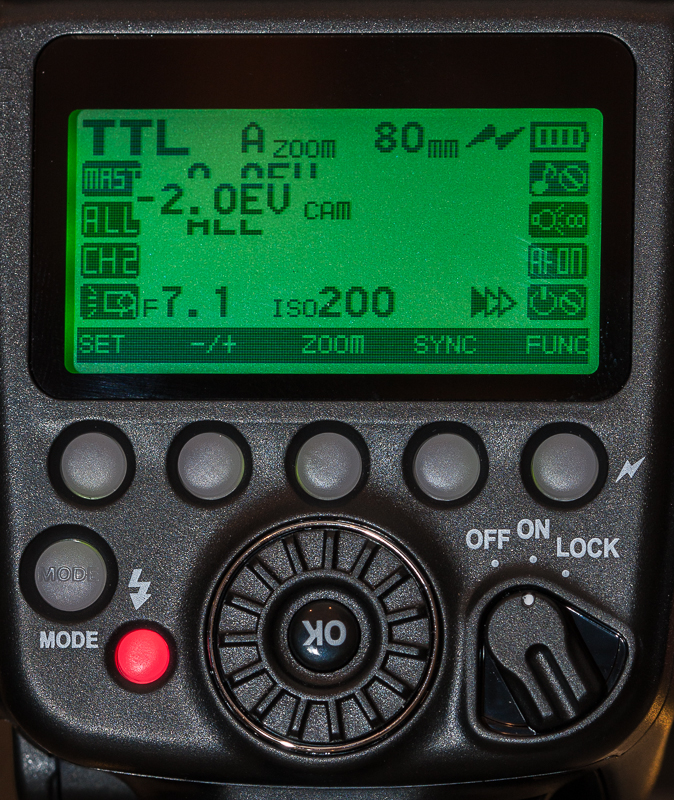 The LCD and main controls are fairly self-evident in operation. The on-off-lock switch is a welcome touch – I appreciate having a positive indication for power.
Each of the top row of keys operates a function as labelled in the LCD directly above the button, and I found no issues at all in the operation of these buttons. In most cases, the buttons on the far left and far right cycle through each of the options stacked above them on-screen, which the middle buttons are reserved for single-action operations.
Having taken a glance through the feature list and instruction manual for the Mago, I knew that there were more options / capabilities than I was seeing when I turned on the flash. The modeling light, for one thing, completely eluded me. After spending a little time with the instruction book, I did find that there was a bit of a trick to changing the menu mode. The “FUNC” button on the 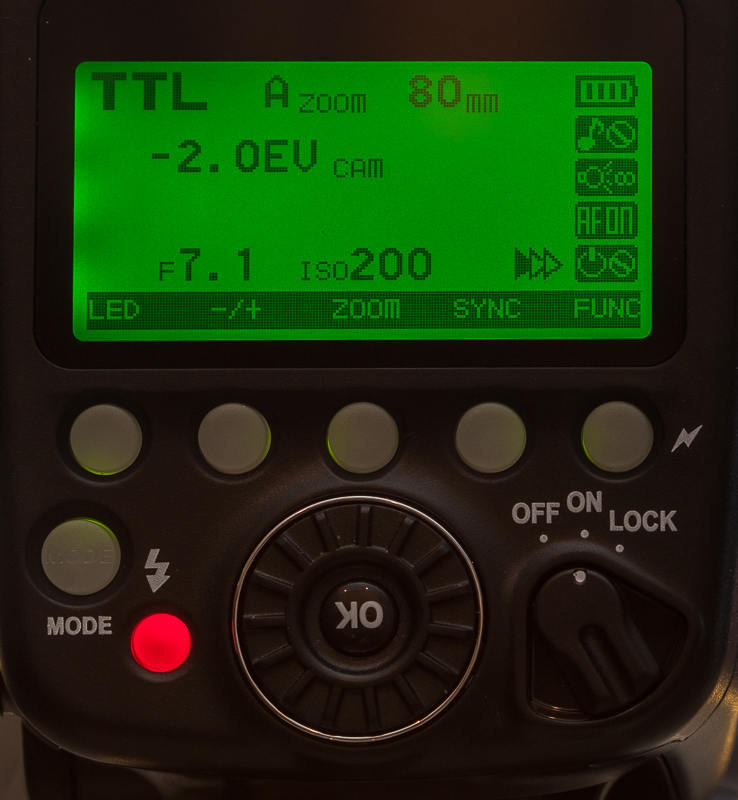 far right normally cycles through each of the options above it, but if you hold it down, it’ll switch out some functions along the bottom row of keys, revealing the button to turn on the modeling light. Not too bad, once you get the hang of it.
Speaking of the instruction manual, it’s definitely worth a quick glance, and though it’s not without the occasional translation glitch, it’s fairly readable. Perhaps the biggest head-scratcher I ran into was something called “keypad voice” in both the feature list and the instruction manual, and although I’d actually already used this feature, I couldn’t figure out what it was until it dawned on me that “keypad voice” meant “beep”. That’s really fine with me, because I hadn’t looked forward to my flash talking to me.
The “mode” button, predictably-enough, cycles among E-TTL, Manual, and “Multi” modes, and the “charging” LED is also a self-test button. Once again, this functionality is consistent with other flash products, which is great from a usability standpoint. One of the more prominent controls on the keypad is the circular selector (with the “ok” button in the middle), and I did experience some minor issues with that control. It seems that when it’s spun rapidly, it works just fine, but it seemed like when I tried to turn the wheel just one “click”, it wouldn’t register.
A final note on a couple of the controls / options that I found especially nice: both the backlight and auto-power-off functions are configurable for anywhere from a few seconds to always-on for both. The “don’t sleep” mode, in particular, will be of particular value for anyone who uses this flash in a remote setup. The last thing you want once you’ve got a remote flash placed right where you want it is for the flash to go to sleep just before you need it. Some of the little touches like this make the Mago all the more impressive.
E-TTL
E-TTL operation on a flash is generally one of those feature sets that either works or doesn’t work, but I tried to pay a little more attention to specifics in this case. I can confirm that FEC of +/- 3EV is available through the camera’s controls. The zoom of the flash head correctly follows the zoom of the attached lens between the flashes limits of 20mm — 200mm, and the flash recognizes the aperture setting for your lens as well (needed to compute flash power). I found that the Mago was fully recognized as an “external flash” when attached to my camera, including display and setting of custom functions 1 through 9, plus 12 and 13.
In the screenshot here, by the way, you can see a rare UI glitch where the “-2.0EV” FEC setting is displayed right over the top of the information beneath it. I really never considered this a big problem because in E-TTL mode, especially, the information on the flash is really there mainly to echo the settings you’ve selected on-camera.
Wireless Operation
One of the key advantages this unit has over the YN-568 is its build-in wireless master-slave capability. Even though you can pick up a great pair of E-TEL-capable flash controllers now for less than $100, having this capability built right into the flash unit is a great bonus. Once again, it you’re at all interested in packing light, this will eliminate triggers and their batteries.
The wireless menu on the Mago is easy to set up, and I was able to configure the Mago to operate wirelessly from my Canon 7D in short order using the 7D’s pop-up flash to control the Mago. No wires, no triggers, and full E-TTL. Very nice.
Other Features
One of the modes I haven’t had a chance to try out yet is the “multi-flash” mode, which, as you might expect, fires the flash multiple times in succession. Given a relatively dark environment and a long exposure, this stroboscopic mode should be able to create a multiple-exposure effect with a single exposure just by freezing motion a number of times in the same shot. This is most likely a feature you’d only use once in a while, but it could be really valuable when you need it.
Speaking of being handy when you need it, the modeling light on the Mago looked like a cute novelty feature when I originally saw it, but this weekend, I ran into a situation where it saved the day for me. While hiking along one of my favorite trails, I came upon an old barn (which wasn’t surprising), and I heard a rustling coming from inside (which was surprising). Long story short, there were a pair of Black Vulture chicks in a crevice in the barn, and without the aid of the modeling LEDs on the Pixel Mago, I don’t believe I’d have been able to score any pictures of them. As it turned out, not only was I able to get some nice still photos, the modeling LEDs wound up being passable video lights for a couple short clips.
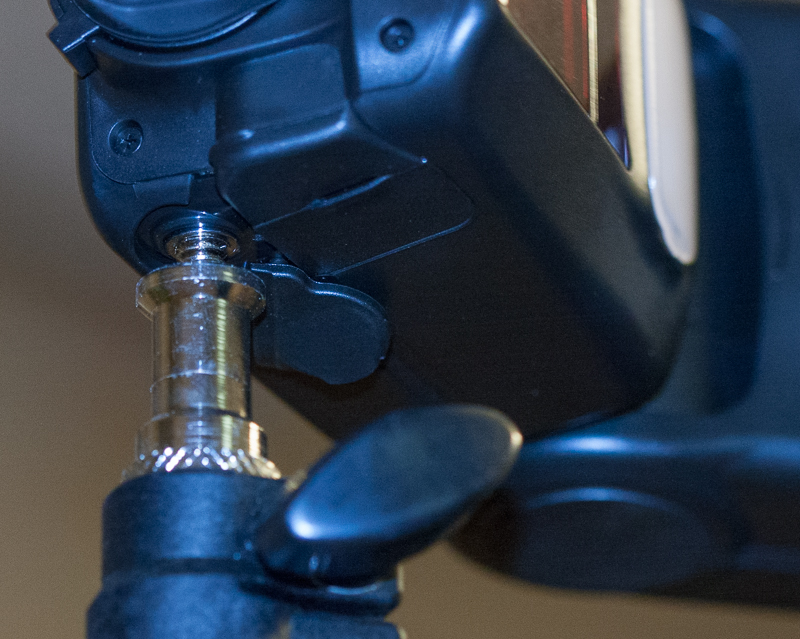 The Pixel Mago includes a built-in mounting socket for use with a light stand (or equivalent threaded connector), which is another nice touch that seems to be directly inspired by Canon’s 580EX (it’s located in exactly the same place as Canon’s). As you can see here, though, this mount places the Mago in a somewhat precarious position, and I’d be inclined to use this mount only if no better option is available, and certainly without having any additional weight on the flash head (modifiers, etc.).
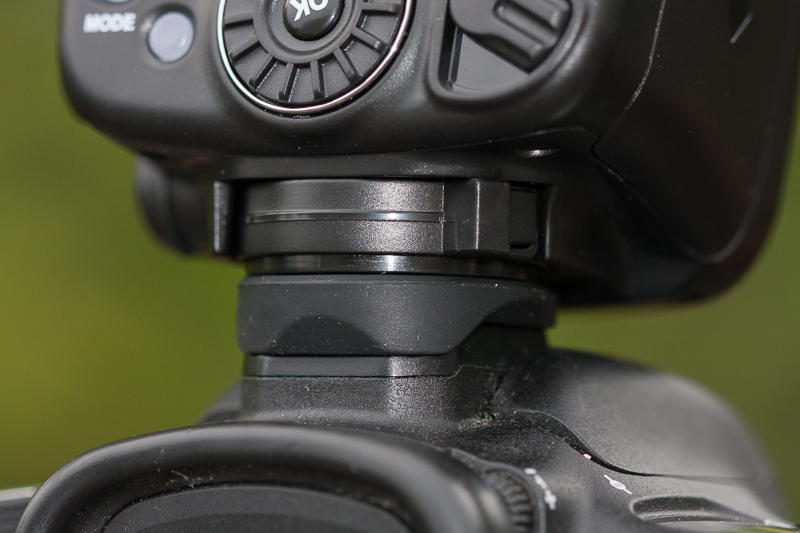 A very welcome Canon-like feature, though, is the hotshoe mount. Unlike many entry-level units, which use threaded rings that screw down to tighten the flash, the Mago uses a lever that tightens the flash onto the hotshoe, and even includes a rubber boot that seals the shoe. This mounting method is easy to operate and quite secure once it’s in place. I’ve experienced the screw-ring mechanisms on a couple of flashes become more and more difficult to use over time, so even though those rings start out easy enough to operate, I’m looking forward to the Mago’s connector holding up better under continuous usage.
Conclusion… for now
I’m still planning on conducting some power & performance testing on the Mago, but my impressions to this point are overwhelmingly positive. This is a great flash — full stop. I saw a couple little rough spots in my testing, so we’ll see whether that upgradeable firmware capability turns out to work. In the meantime, I’ll be using the Pixel Mago as my primary flash to see if it holds up well to day-in-day-out use, and I’ll report back with long-term results later.
I’d like to thank Pixel for providing this unit for evaluation, and I’d like to congratulate them for a really solid product release.
Update: Part 2 of this review is now available — read on to see if I still love this flash (spoiler: I still do!)
[/span5][span2]Comments are closed.
9 Comments