StepShot review
Last week, I tried sharing my most recent post as a quick how-to example for someone who was trying to accomplish this same effect in Photoshop Elements, and my tutorial was found somewhat lacking. I’ve been meaning to take a crack at improving the article, and I believe I’ve now got another great excuse to revisit that subject. I downloaded today’s Giveaway of the Day — StepShot — which claims to help with exactly this sort of problem.
Stepshot organizes tutorials into a workflow where you capture images, edit & annotate them, add text, and finally export your completed work. At this point, I’ve only spent a little time with it, but I’ll share some first impressions. The capture step seemed to go pretty smoothly — StepShot is set up to start & stop captures either with hotkeys or by starting a session from the StepShot application. Once a session is underway, an image is captured on each mouse click. By default, you’ll hear a little camera-shutter sound on each click, corresponding to each image capture. So far, so good.
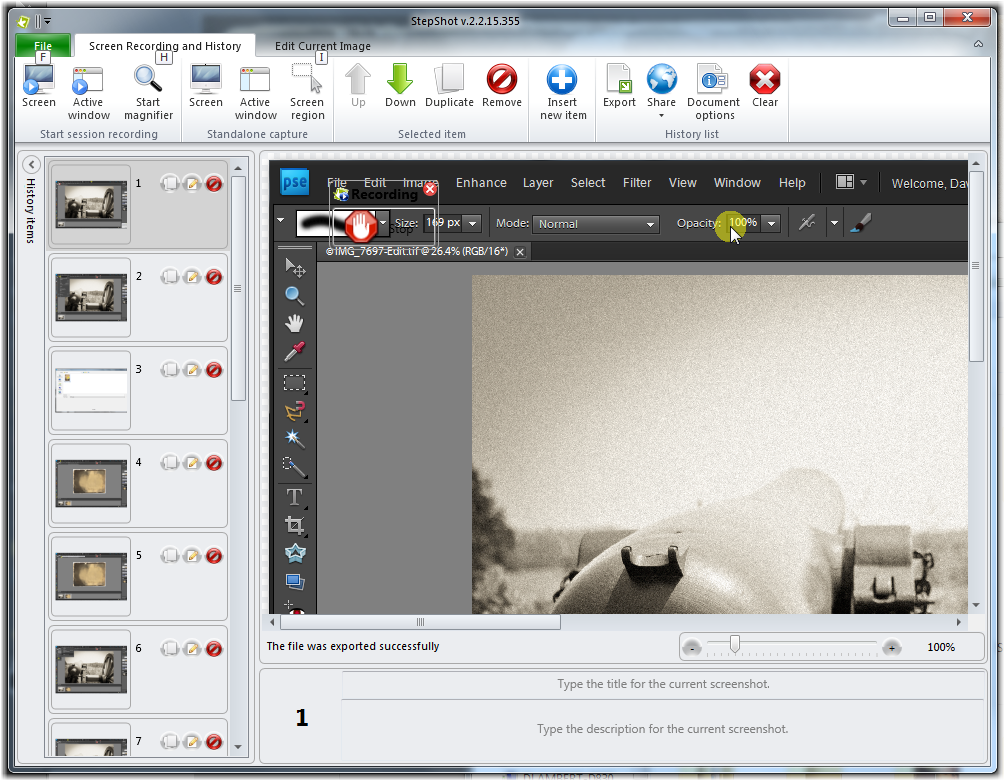
Upon stopping the image capturing session, though, and going back to the StepShot screen, I immediately noticed a couple of annoyances: There were *tons* of snapshots to wade through, and I could see the little “stop capturing” window sitting on top of my work in many of them (see image below).
I quickly found it was easy to delete extra images, so I’m less concerned about that, now, and I have a hunch I may find a better workaround for that, too, but I also need to figure out what I need to do to keep that “stop capture” window from intruding on my screen shots. In any event, assuming I discover how to deal with them, these are pretty small annoyances.
Each image you’ve captured can now be annotated to explain what’s going on. This is easy, and I was glad to see that the text entry fields included a spellchecker. You can also do some basic image editing if necessary to help highlight what’s going on in the screen, though the screens as-captured already show a little highlighted area where the mouse was (which is nice).
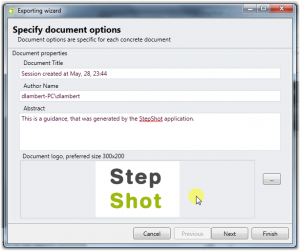
 The last step is to export your work. This is, again, fairly easy, and it includes some fairly useful options, but as I intend to use these mainly in my WordPress blog, I think it would have been handy to have a mechanism to upload stuff directly to a WordPress site (splitting hairs, I know).
I’ll update again as I spend a bit more time with this product, but at first glance, it seems to be showing some promise. Go check out their web site for more info, including a free “express” version.

